


For some youth in my neighborhood, I created a little Thanksgiving gift this week and wanted to make a tag to go along with it. As I began decorating the tag, I realized it needed a little something extra. But I didn't want to throw on some random border. Instead, I wanted to continue with the continuity of the shape of the tag and decided to create an outline.
Here's my tag as it is without a border:

Next, grab the shape you want to outline, resize, and then position.

Next, hit control (or command on a Mac) while clicking on the thumbnail of the shape layer to select. Hide that layer.

Now, create a new layer above the shape layer. It should look like this now (with the shape layer hidden). You can rename this new layer "Border" or whatever you'd like to not get confused.
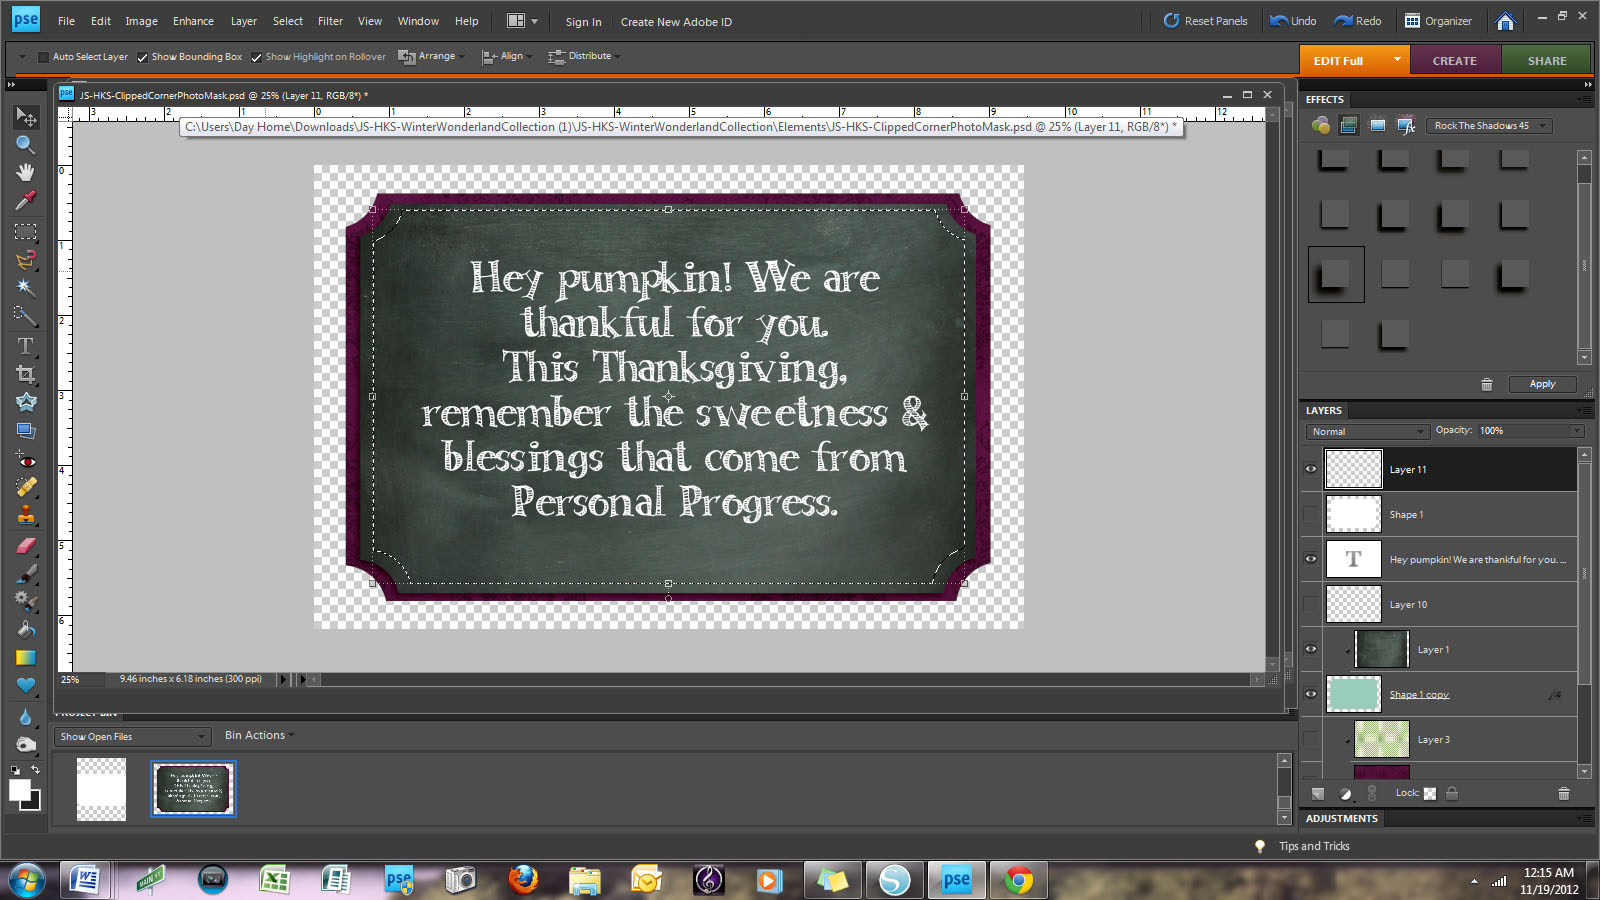

Your outline has now been created. The last steps are easy! Press control (or command) + D to deselect the shape layer. Then, delete the shape layer. And voila! You have a border that perfectly matches the shape you wanted to create. It's a super easy technique and one I've already used several times.

Have a Happy Thanksgiving to those living in the US!

I used some of your product and blogged about it today, feel free to stop on by http://tamieispreservingmemories.blogspot.com/
ReplyDeletethe layout was posted in dsa/msa/dst/dss galleries and on my facebook.
Happy Scrapping, Tamie